When working on the 5th assignment, we were tasked with making two separate film segments that adhered strictly to a segment of script for the movie ‘The Godfather’. We would not be allowed to change the script at all except for characters and actions, and we were to make two films in the style of two genres, excluding the genre of the source material. In the development of the work we came up with several ideas for genres we could adapt the script to. Most seemed to cycle around a rehash of normal crime however, so we decided to try and use recent examples of film and TV to try and broaden our scope.
TV Series’ like Suits, Breaking Bad and House of Cards helped us come up with our two final genre ideas, Drama and Crime Thriller. Our justification for Crime Thriller comes from the new perspective we’re using on it, trying to emulate the more tense feel of Breaking Bad and House of Cards, with an anti-hero protagonist that makes a viewer question who they’re vouching for. Our Drama idea was inspired by Suits and focused more on posing the characters as investment bankers trying to fix a deal that’s broken down due to interference from a third party. The ideas we came up with were pretty good in reflection but I would like to have tried to experiment more with finding a second genre that didn’t stray so close to the source material’s. While Crime Thriller has it’s own elements, it could still be considered part of the same main genre as ‘The Godfather’.
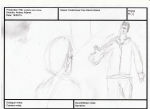
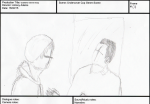
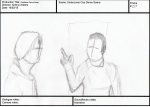
Once the group was agreed on the genres we started working on the specific scripts for each genre and the storyboard. I enlisted the help of some classmates from the film degree to help us film the scenes. They provided some acting talent and camera equipment and helped round out our weaknesses in film, coming from a games development background. If I had to do a film project again, working with film students and learning from them would be a top priority. A few things I learned while working with them have helped me develop a proper skillset for filming and preparing for filming. I’m more aware of how important it is to have a set/location picked out beforehand, as well as providing equipment and resources to make the shoot possible.
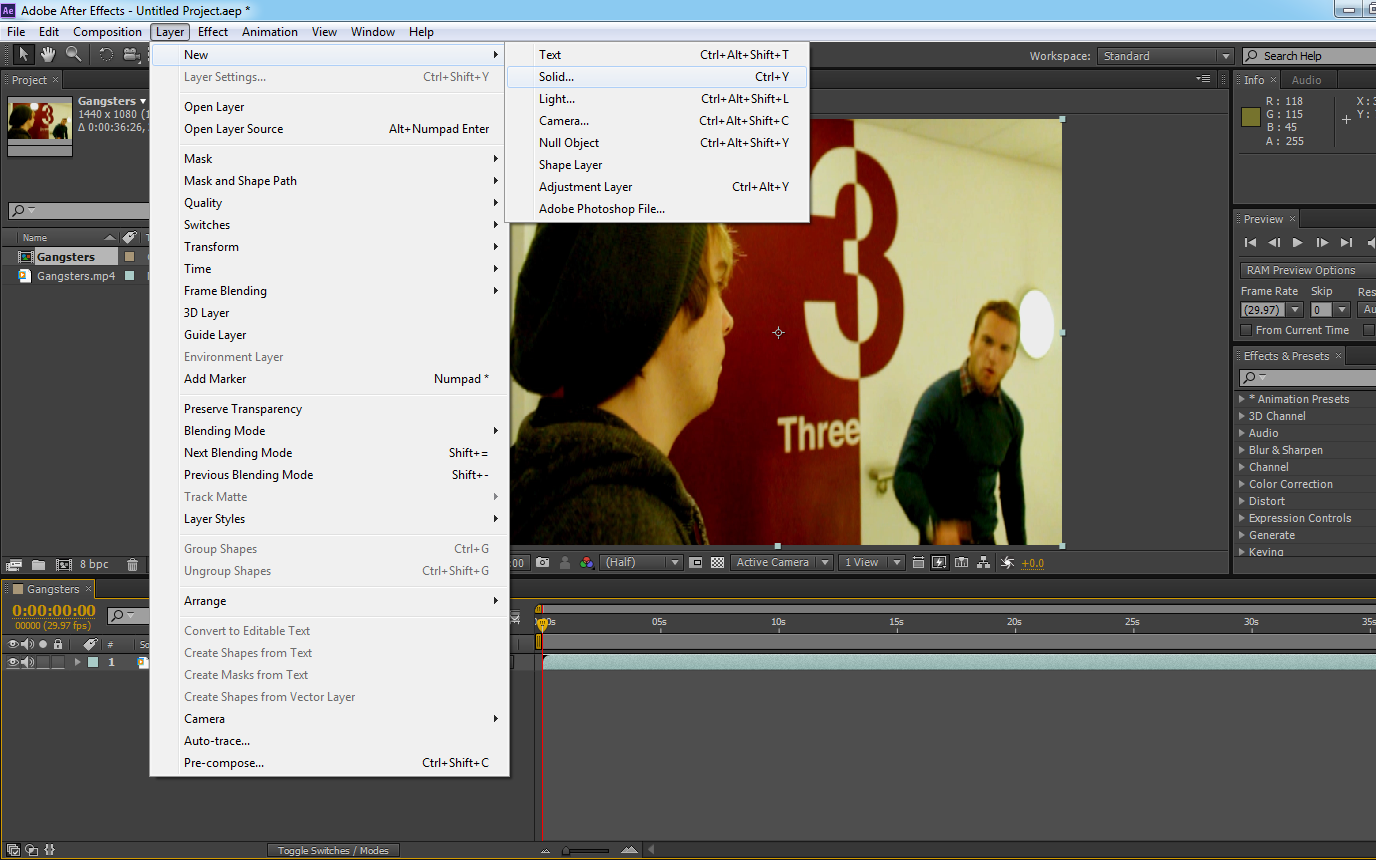
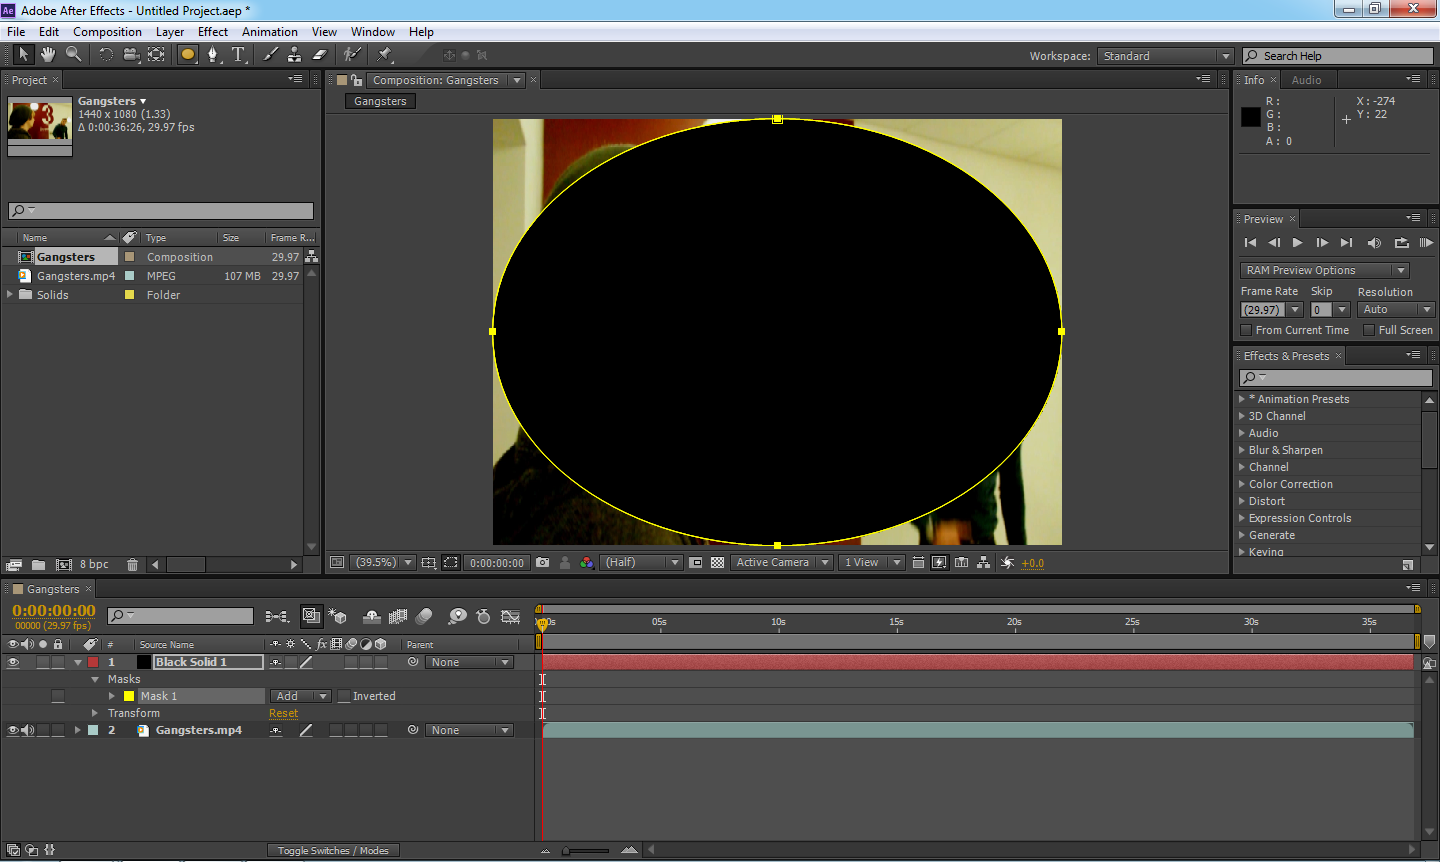
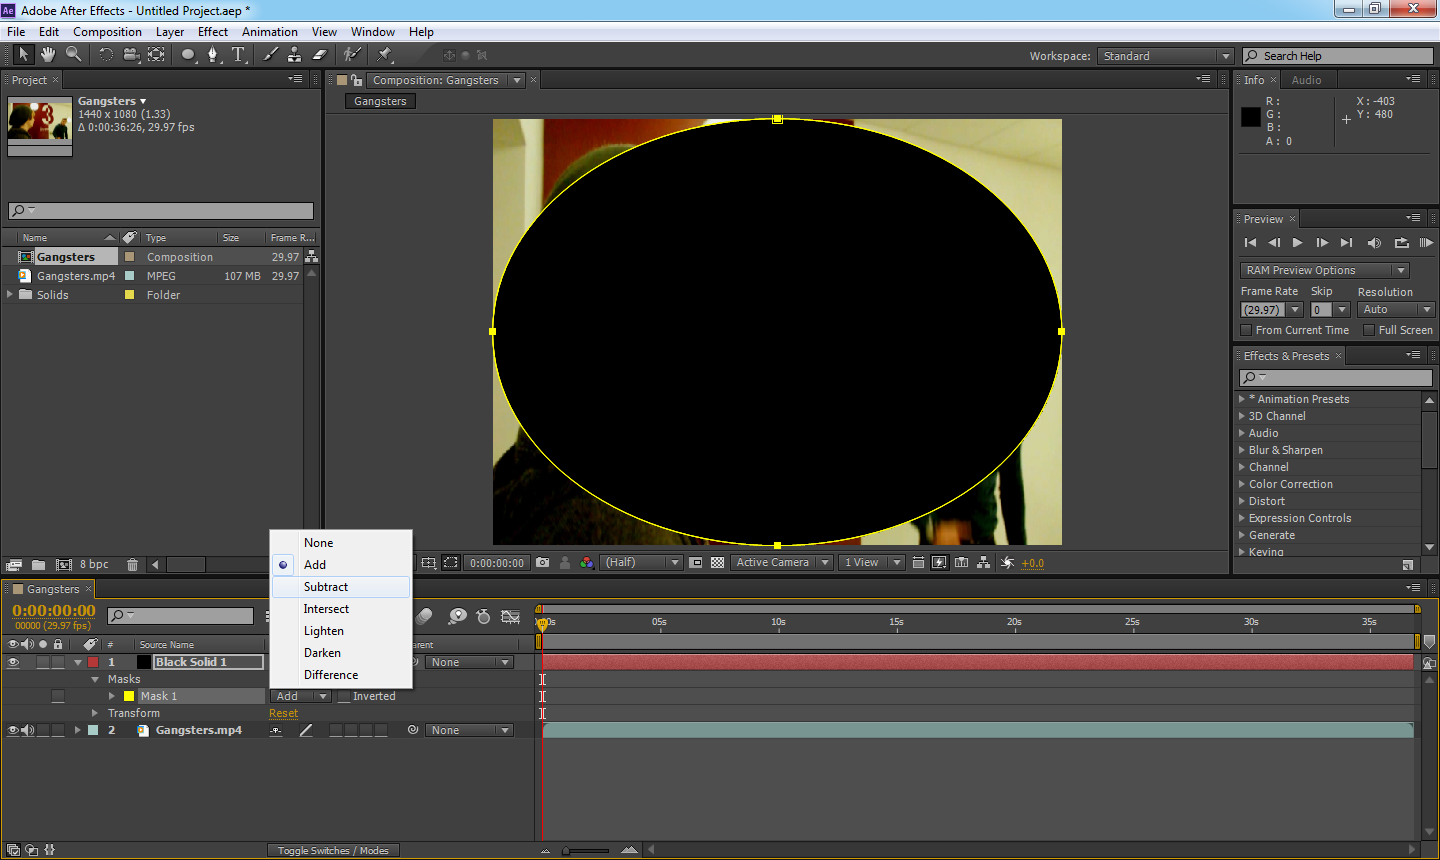
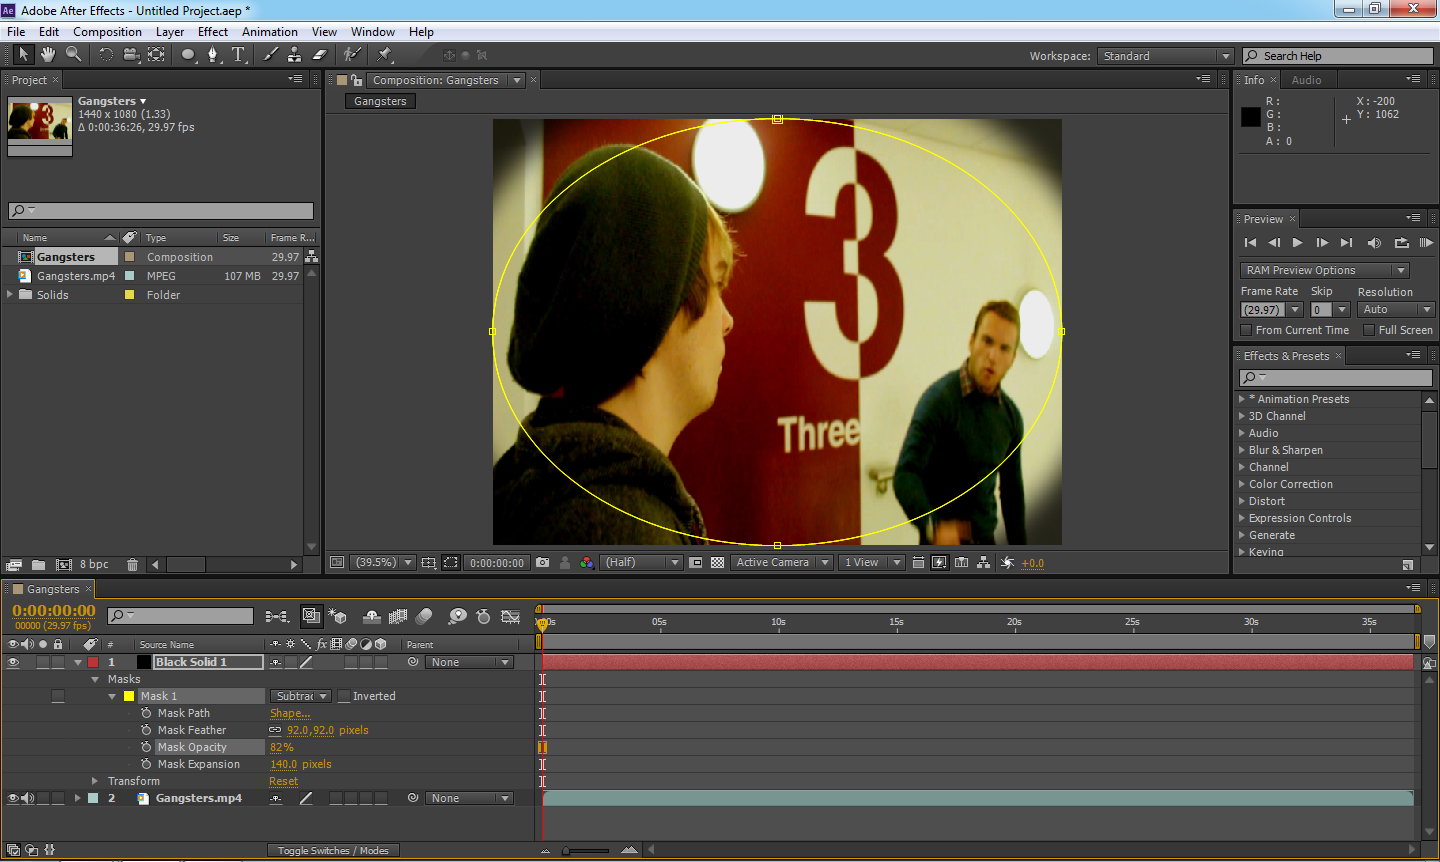
After filming was done, Reece worked on the editing of the footage we got in Adobe Premiere and Adobe After Effects, adding effects that helped embellish each genre using the research provided by Aaron. This included utilizing colour correction tools to give each film a different mood, as well as a cinematic vignette. In the future we would try to get some of this done quicker as we took longer than expected, but overall the work was all collated together in good time.
If I had to work on a film project again, I would try to assist in editing or take the role of editor to assist in the process. I have 3 years of experience with video editing in multiple programs and it would be optimal to apply those skills where possible to streamline the work and utilize everyone’s skill-sets. At the same time I would make sure to engage in different areas of the field I am not so used to such as camera work, to pick up extra knowledge which could be used in later projects, as well as benefit my input on other segments of the project. Knowledge of camera techniques and limitations would make it easier to put informative pointers in the script to aid in camera work and shorten workload.